SELF ADHESIVE WALLPAPERS INSTALLATION

WALLCOVERING HANGING INSTRUCTIONS
All wall surfaces should be structurally sound. Sand finished, plaster, or drywall texture should be smoothed. In order to insure good adhesion, old wallcovering and loose paint flakes should be removed. All wall surfaces should be painted, for recently painted wall let dry for 4 weeks prior installation. Do not hang wallcovering over ballpoint pen writing, wax crayon, or foreign matter that may be on the wall. On new walls, drywall joints should be taped, bedded and sanded smooth. Areas that have moisture infiltration problems are at risk for mold and mildew growth and any such problems must be corrected prior to the installation of wallcovering.
This product is intended for use in interior construction that are properly designed and maintained to avoid moisture infiltration, condensation and/or accumulation at wall cavities and wall surfaces, particularly in warm, humid climates.
Maintain temperature of wallcovering between 70o F and l00o F for at least 72 hours prior to and during the installation.
- Surface should be undamaged, smooth, clean, dry, structurally sound, and free of mold, mildew, grease, or stains. Check for deformations in the structure of the wall.
- Before hanging, be sure the pattern and color are satisfactory as specified, examine pattern matching for color uniformity and repeat.
- Before installation, verify that wall moisture content does not exceed 4% and that active moisture or water vapor infiltration is not present.
- Before installation, verify that walls are free from mold and mildew. If mold or mildew is present, or if walls show visible moisture damage, or if moisture content exceeds recommendations, do not proceed with installation until the condition has been fully corrected under the direction of a qualified expert.
- If applicable, material must be installed in numerical roll sequence starting with the lowest (1) number.
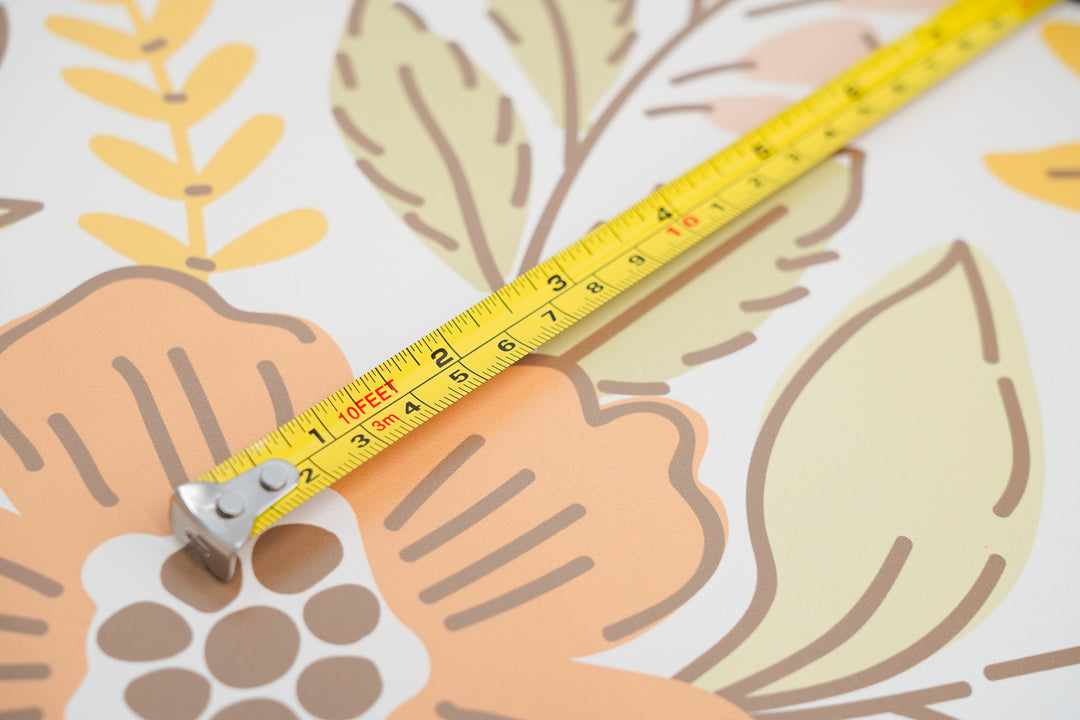
- Draw guidelines on the wall: Measure the width of your wallpaper. Beginning on the left side of your wall, measure out from the corner the width of the wallpaper minus 1 inch, mark the wall lightly with a pencil. Put your level on this mark and draw a straight, level, perfectly vertical line from the ceiling to the floor. This is the Guide Line for your first strip. Never align a wallpaper with a wall corner or the ceiling since they may not be perfectly straight. This is a very important step because if the first sheet is not perfect as you continue installation misalignment will increase.
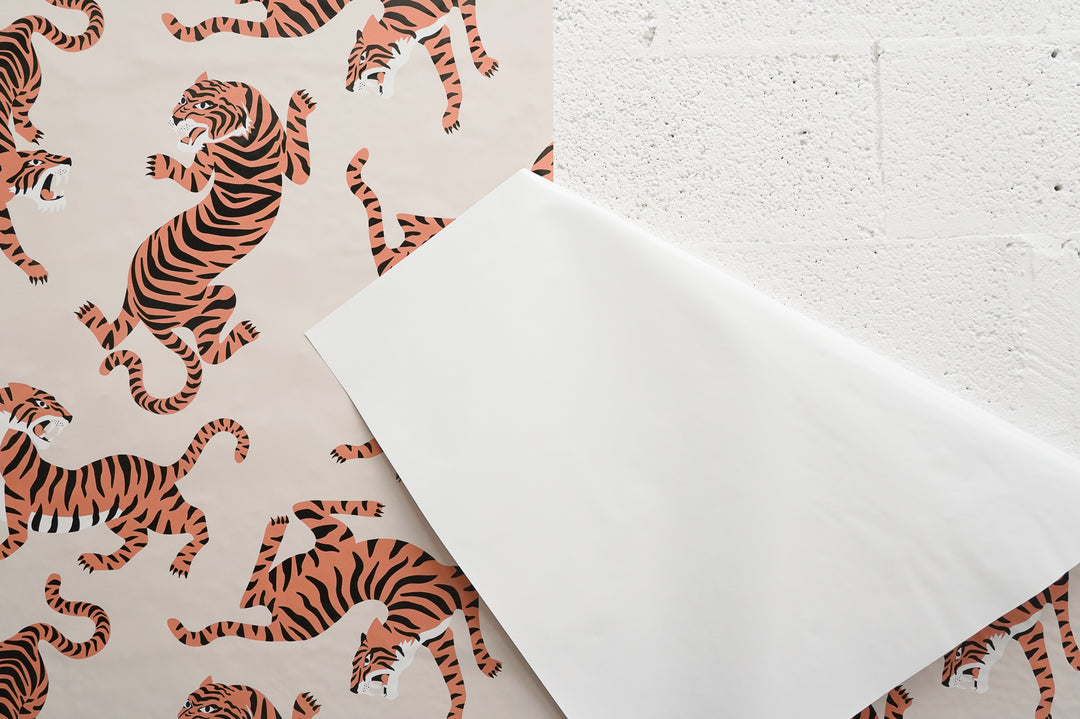
- From the first sheet select the side that will be on the top of the wall. Make sure your pattern is right side up. Peel and fold 3 inches of the backing paper from the top side of the sheet leaving exposed a portion of the glue to begin the installation. Align the right side of the sheet of wallpaper with the Guide Line, you will notice you have an extra inch in the left side of your installation, this extra will be trimmed off later.
- Proceed to paste the top of the wallpaper, allow a bit of excess to overlap the ceiling which will be trimmed off later, just present the wallpaper with a gentle pressure. Check again if the wallpaper is perfectly straight and in position aligning the right side of your sheet with the full lenght of the Guide Line from the ceiling to the floor, if not lift and paste again. Gently peel the backing paper down 5-10 inches at a time, checking the right side of the sheet is matching with the Guide Line and gently smooth the paper onto the wall, moving from the center outwards. If any malposition occur gently lift the paper and paste it again. Once placed in final position use a smoothing tool, or your hands to press the paper against the wall in final position. This step is better performed between two people.
- Continue your installation selecting the next sheet. Apply it so that the left side overlaps the right side of the previous sheet by 1 inch carefully matching the repeat. Using the same procedures apply more wallpaper sheets, matching the pattern to the previous strip.
- When installing self adhesive wall covering, air will most likely to get trapped in between, just puncture the bubble with a small pin or the tip of a blade and gently flatten the paper with a smoother or your hands.
- Trim the excess paper along the ceiling, baseboard, and corners with a sharp knife.
MAINTENANCE – SOLUTIONS FOR CLEANING WALLCOVERING SURFACES (in the preference of use)
- Clear warm water.
- Mild soapy warm water, then rinse.
- Isopropyl Alcohol ( rubbing alcohol).
- Do not use solvent based cleaning agents, lacquer thinners, nail polish remover, pine oil or cleaning agents containing bleach, which may cause discoloration over a period of time. 5. It is recommended that cleaning be done with a natural sponge. A cloth or towel should only be used to tamp dry (not rub).
