How to try a self adhesive wallpaper sample
We get it — choosing the perfect wallpaper is exciting, and sometimes you just want to dive in and get started!
But here's a little insider tip: ordering a sample first can make all the difference.
Here’s why:
✨ Each material prints differently.
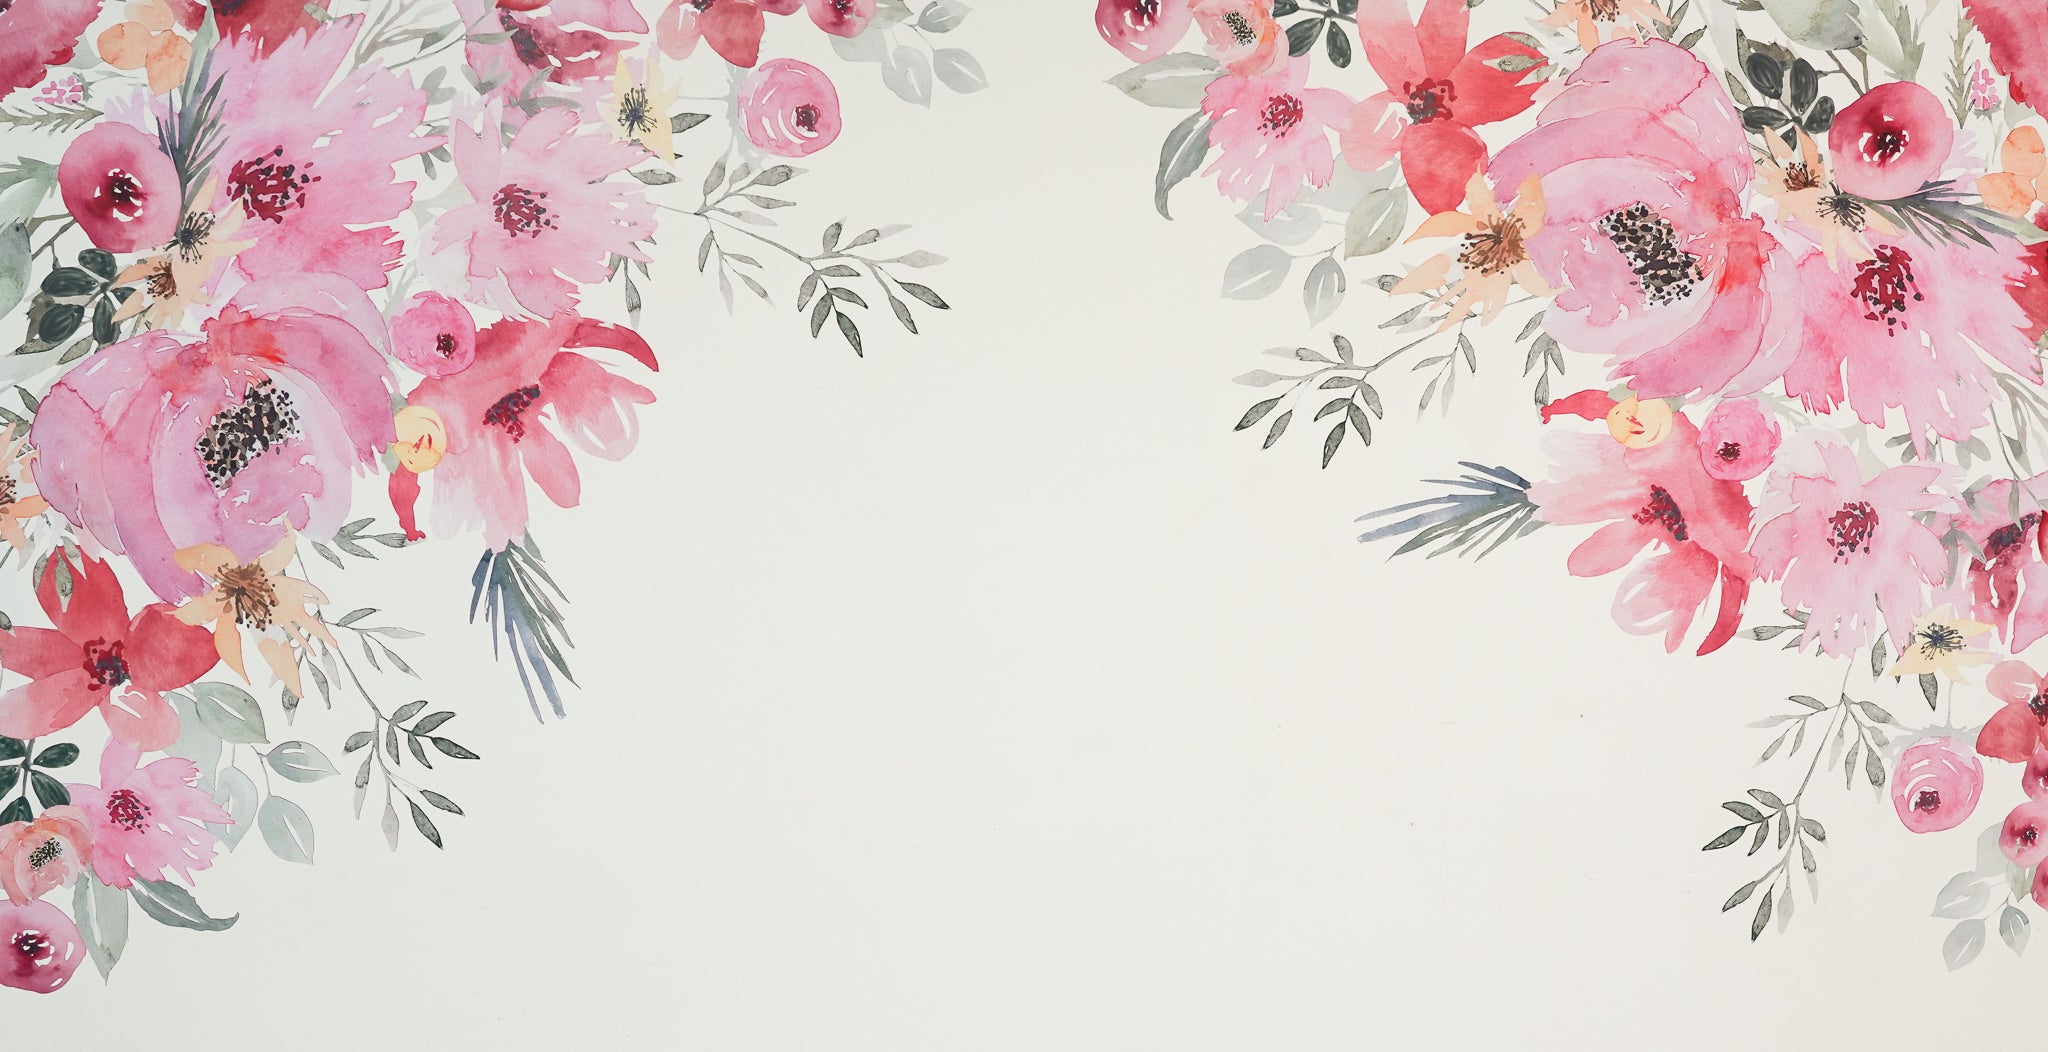
Canvas, peel and stick, traditional — they all absorb color in their own unique way. What looks like pastel pink on one might lean lavender on another.
💻 Screens aren't a true color guide.
What you see on your phone or monitor may not match how the print looks in real life — and we want you to love the real thing.
🔍 Samples show the real texture + color.
Get a full-scale swatch of your design printed on your chosen material, so you know exactly what to expect.
✅ Best way to avoid surprises? Sample first.
We can only guarantee your final order will match if it’s printed on the same material as your sample with no further changes made.
To maintain color consistency all our Samples are made to order and their production schedule is much faster so you can receive them right away.
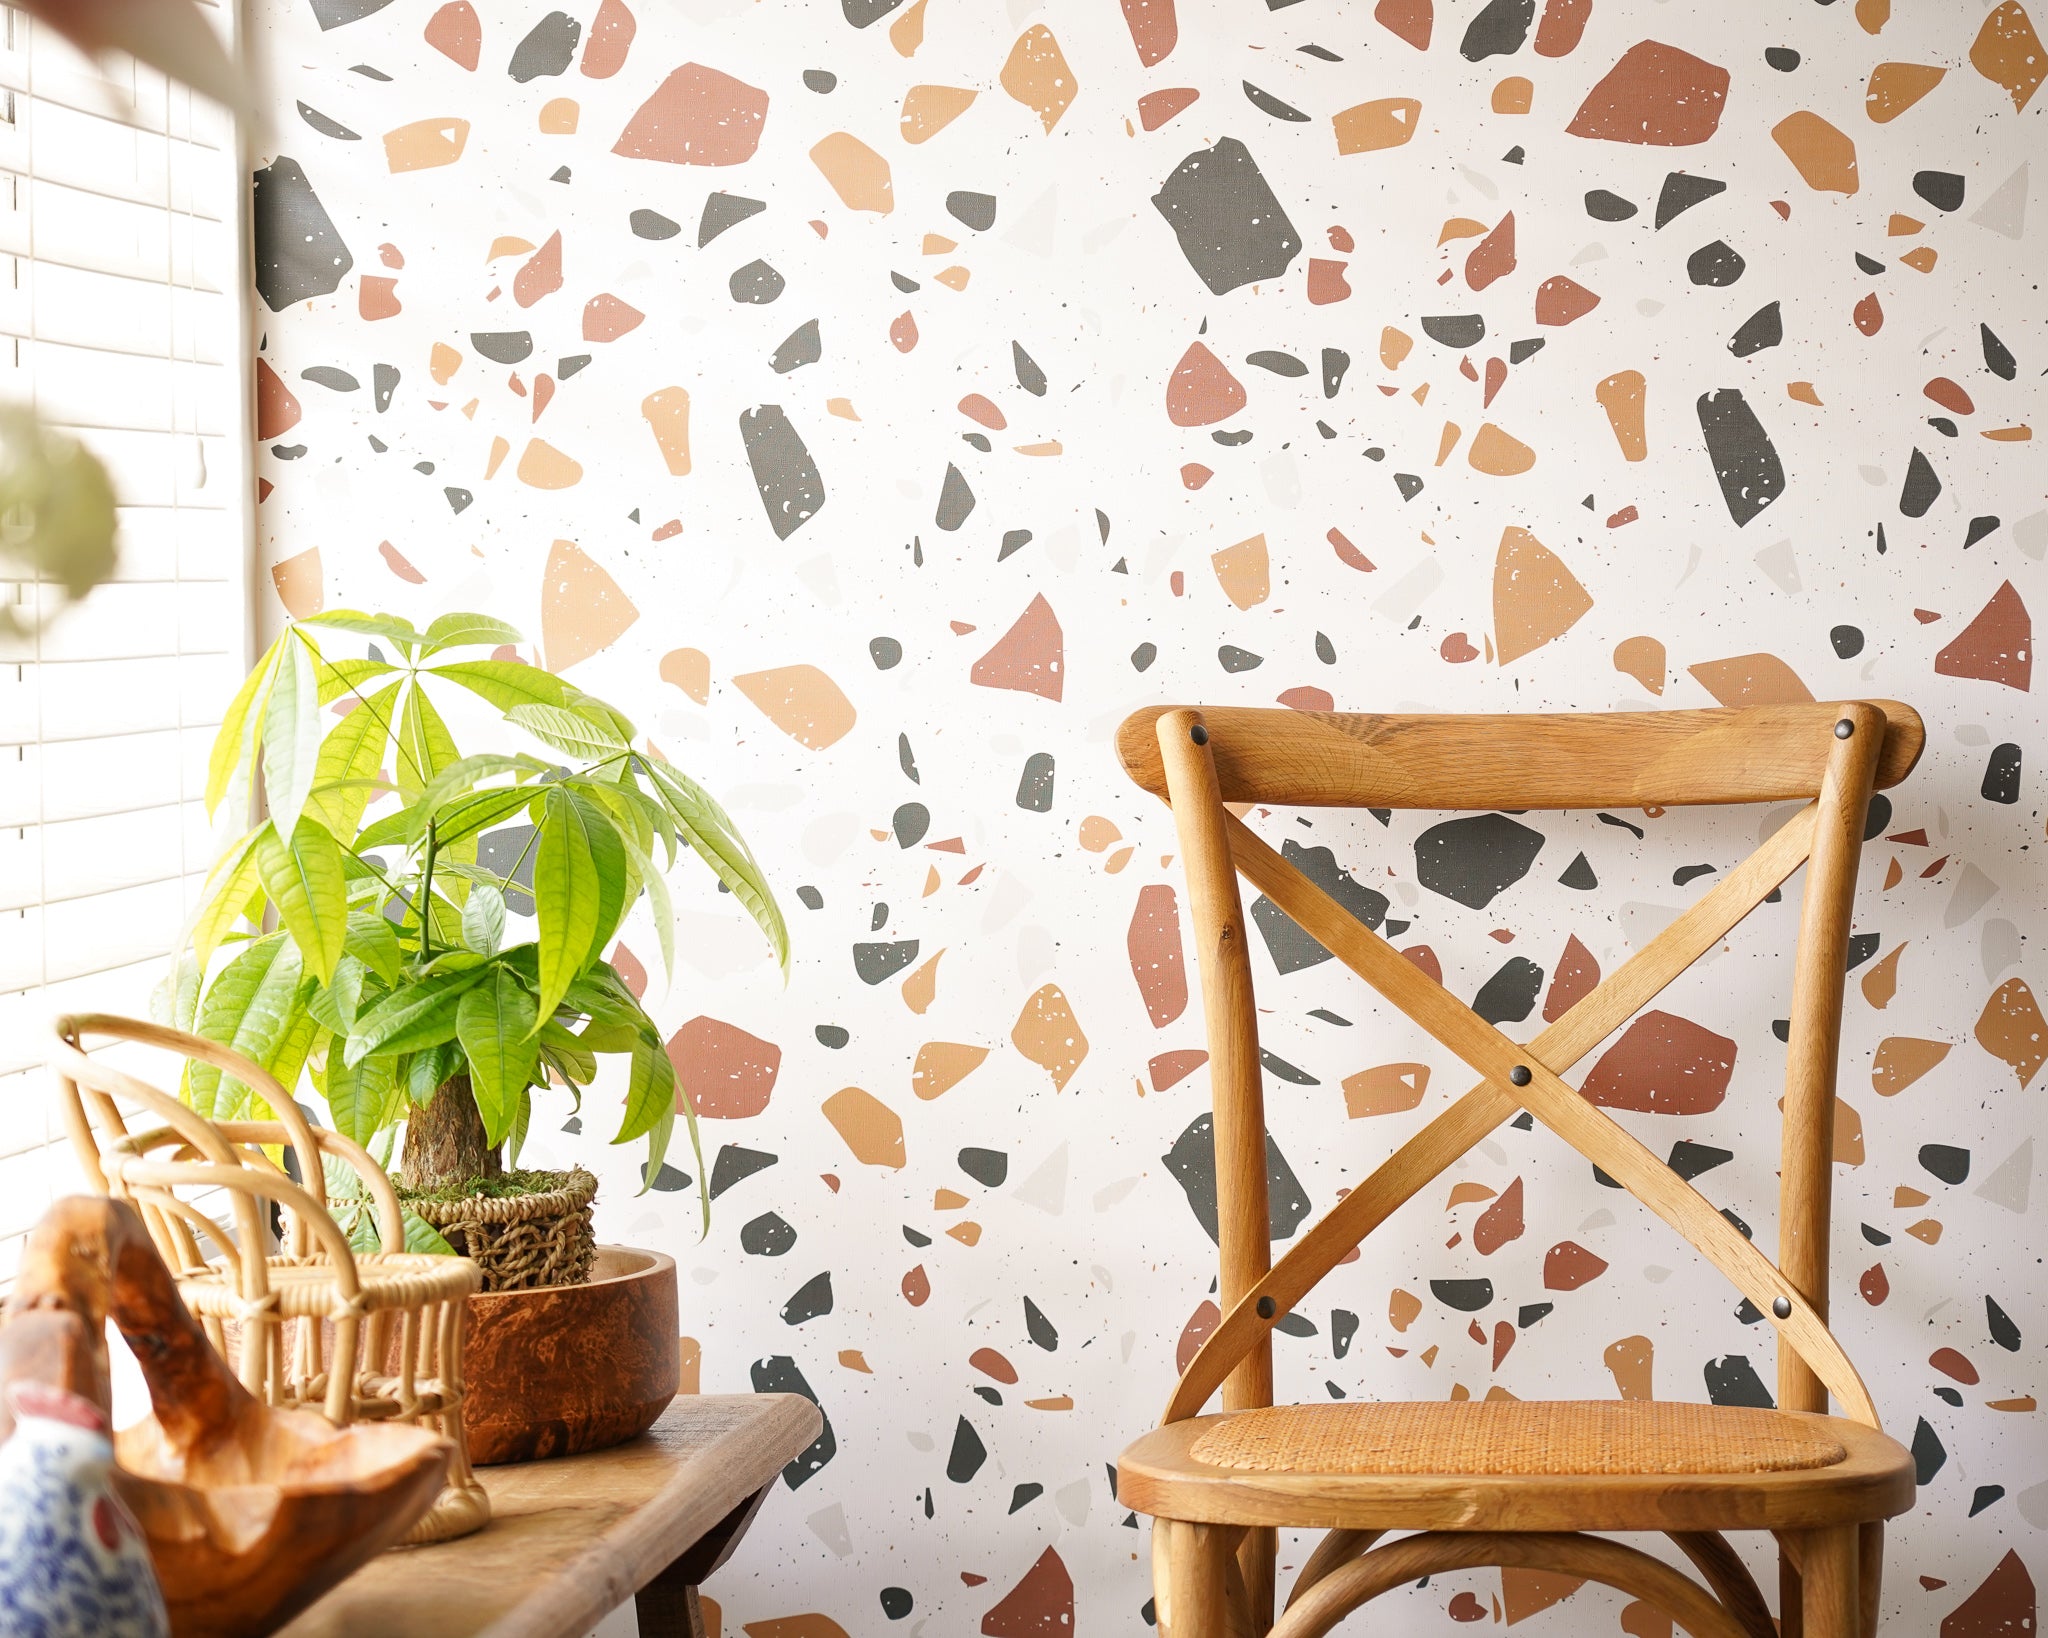
Test a sample in the same wall you are planning to wallpaper.
How to try your samples:
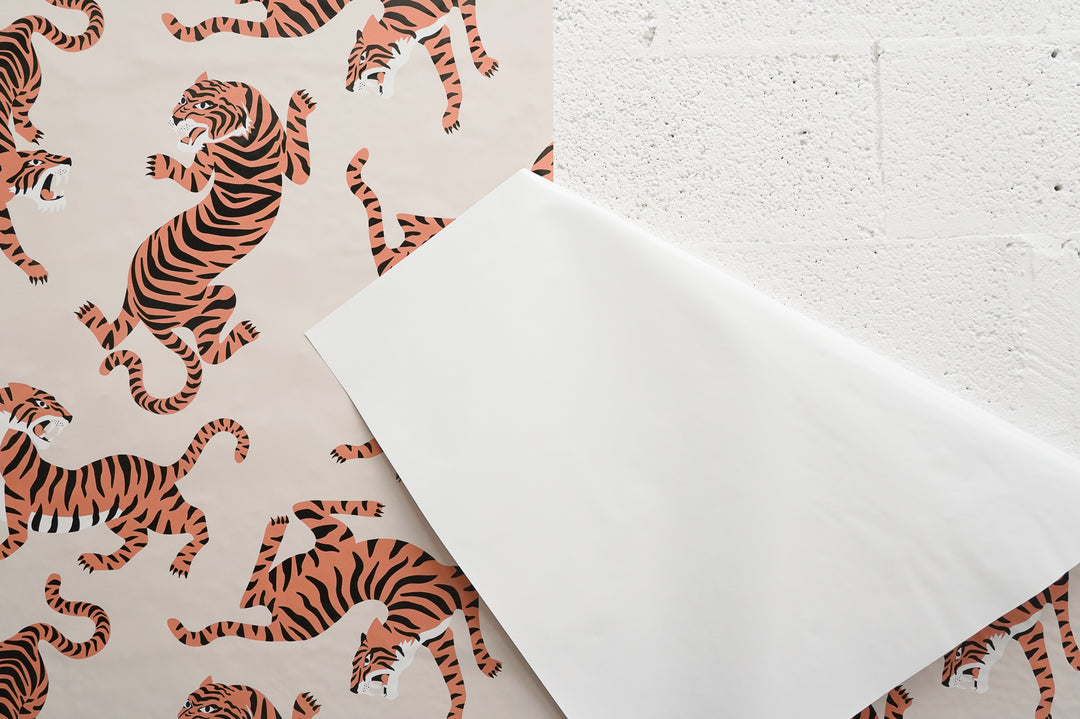
Peel and Stick sample
The Sample you will receive has a 8 1/2" x 11" detail view in true scale of the wallpaper or mural, as well as a scaled preview of the full design setting including all elements within the print.

Cut your Sample in half
You will have 2 pieces 8 ½ to try on:

Use one half for texting and the other you can keep for your design records.
Take one oh the pieces and peel the Backing Paper:

Trying over a smooth wall. Press firmly to the wall, smooth out any bubbles and let it stay put for at least 48 hours.

Things you should observe:
The sample should not develop bubbles, edges must stay adhered to the wall.

If everything looks fine after a couple days with your sample then you are good to go with your wallpaper project.
Long-Term Peel and Stick over texture:
Once placed on the wall, use a squeegee, or if you don’t have one, use an old credit card to smooth the sample into the wall. Don’t be afraid of pressing too hard. Let it there for at least 48 hours.

Things you should observe:
The sample should not develop bubbles, edges must stay adhered to the wall.
If you observe the slightest lift in one of the edges do not proceed with the wallpaper install.

The sample should not develop bubbles, edges must stay adhered to the wall.
If you observe the slightest lift in one of the edges do not proceed with the wallpaper install.
If you see anything weird happening contact us at support@kokoartshop.com and if you can send us pictures with the issues of your samples we might help you determine what’s going on and if it has hope.
Removing you Peel and Stick Sample
As a normal behavior the Sample should offer a bit of resistance at first but it will peel off without residue or lifting paint.

If the Sample removes too easily, it might not be the best material for your wall.
If you see anything weird happening contact us at support@kokoartshop.com and if you can send us pictures with the issues of your samples we might help you determine what’s going on and if it has hope.
Traditional Pre-pasted Sample Testing
The Traditional Pre-pasted has dry glue that needs to be water activated.
Take your Sample and cut it in half.

Spray water to the back of the sample.

It should be soaking wet like this before placing it on the wall:

Place your sample on the wall.

Use a squeegee or a credit card to smooth it.

Use a damp cloth the clean the excess glue from edges and the top of your sample:


Things you should observe:
The sample should not develop bubbles, edges must stay adhered to the wall.
If you observe the slightest lift in one of the edges do not proceed with the wallpaper install.
If you see anything weird happening contact us at support@kokoartshop.com and if you can send us pictures with the issues of your samples we might help you determine what’s going on and if it has hope.