Wallpaper Installation Inside Box Trim Wall Moldings: Tips & Ordering Guide
Why Wallpapering Inside Wall Moldings is Trending
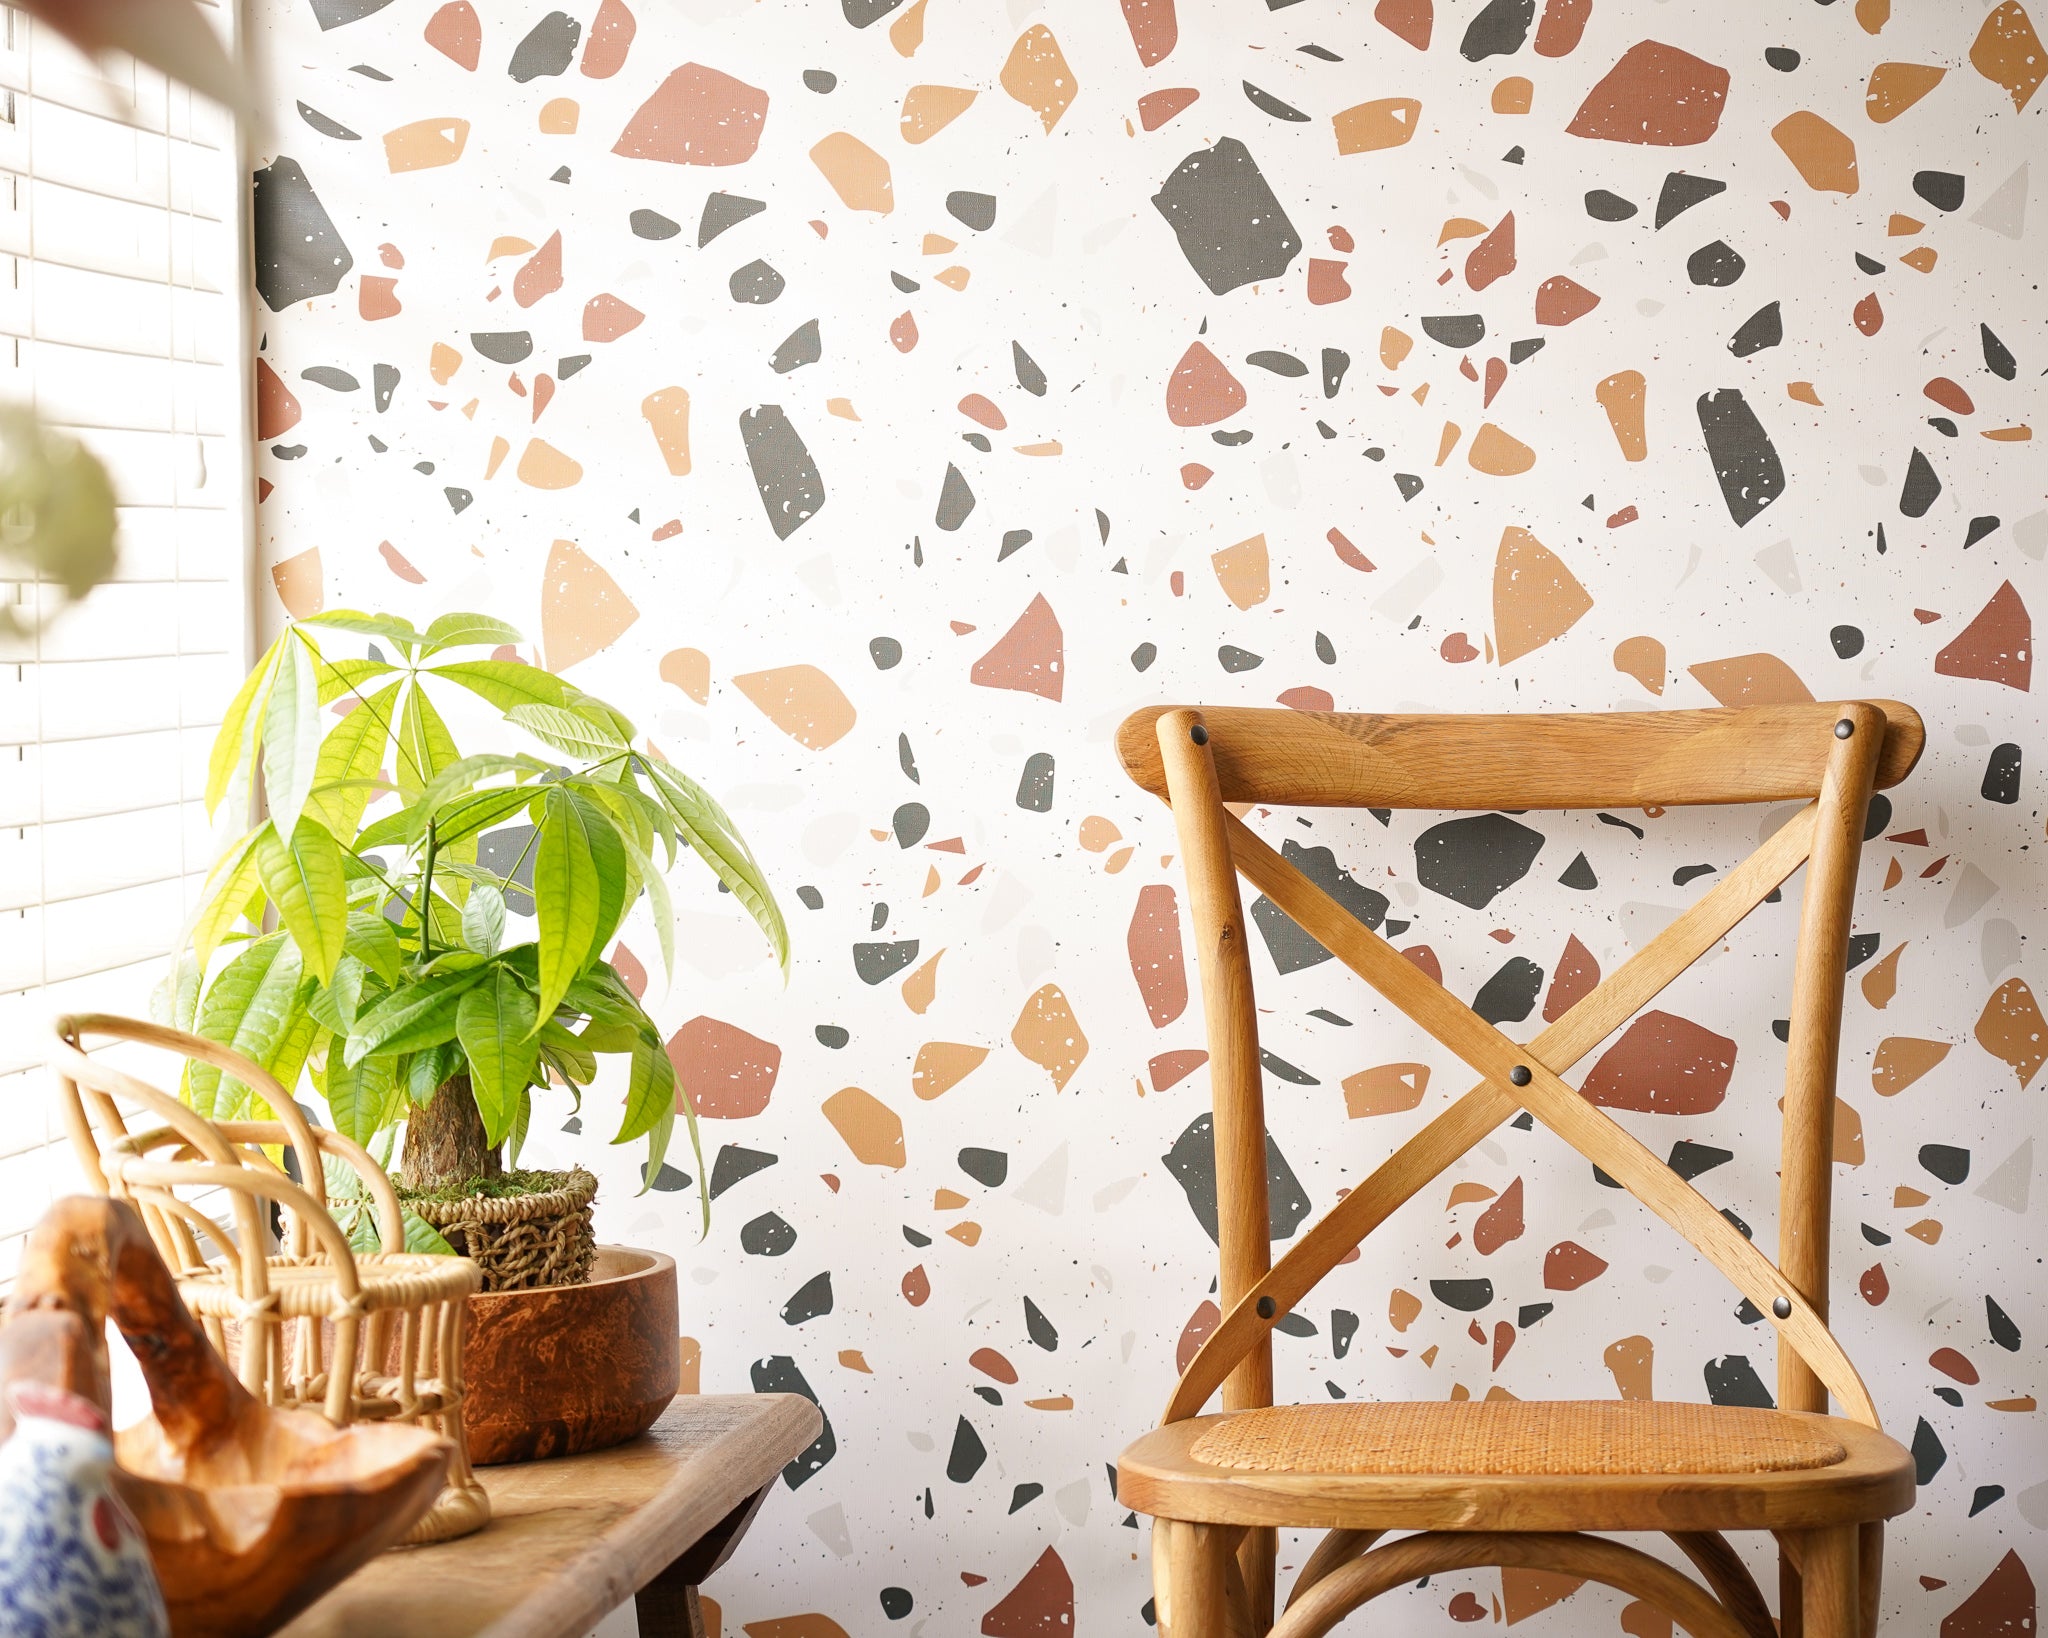
Wallpaper inside decorative moldings has become a hugely popular interior design trend, adding depth, texture, and personality to walls. Despite common believe this type of project can get to be more challenging in terms of measurements and project preparation that doing a full wall of wallpaper. Here’s a comprehensive guide to help you with the process, along with details on how to order your wallpaper for the best results.

Essential Installation Tips
1. Accurate Measurements & Trimming
Begin by meticulously measuring each section within the moldings. Cut your wallpaper panels slightly larger than your measurements to allow for precise trimming during installation. This will ensure clean edges and perfect alignment.
2. Choosing the Right Wallpaper
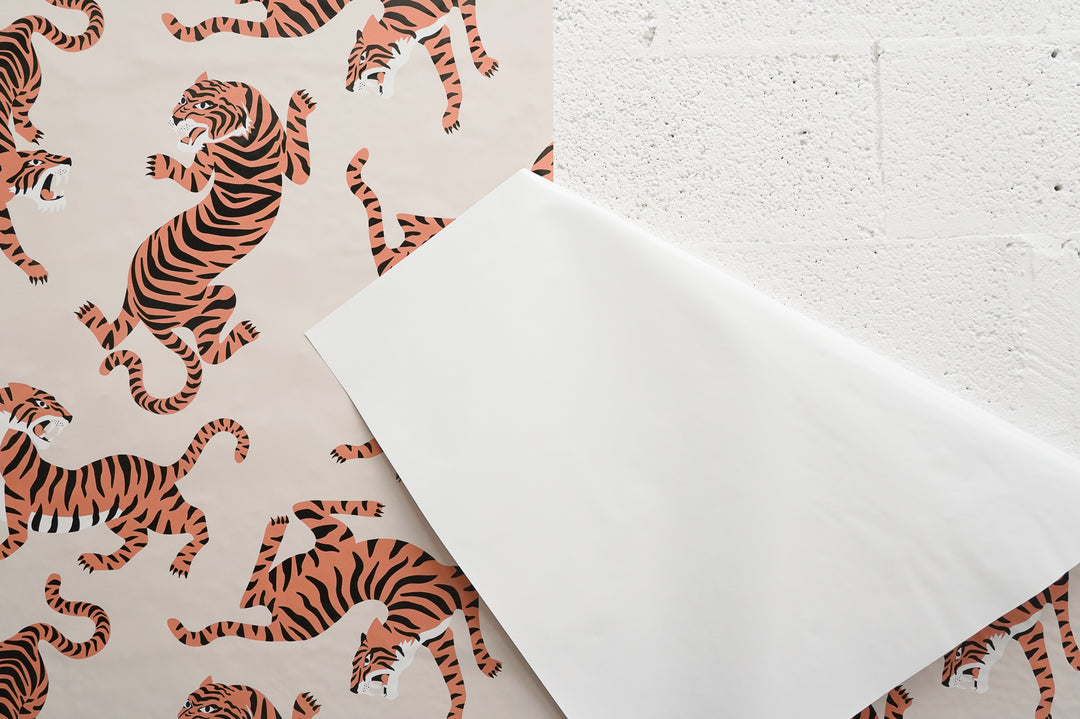
Opt for an adaptable wallpaper, such as Traditional Pre-pasted, which is easier to work with in confined spaces. This type of wallpaper allows for slight repositioning and ensures smooth application.
3. Installation Sequence
For the best results, install the moldings first, then apply the wallpaper inside the framed sections. This allows for cleaner edges and a more polished appearance.
If you decide to install the wallpaper first and then place the moldings over it, DO NOT glue the moldings directly onto the wallpaper. Instead, secure the moldings to the wall with nails or screws. This prevents damage to the wallpaper and allows for easier updates in the future.
4. Managing Pattern Alignment
Aligning patterns across separate sections can be tricky. Minor misalignments are natural and typically unnoticeable once the installation is complete. Choosing intricate designs or smaller patterns can help camouflage any slight mismatches.
5. Surface Preparation
Ensure the wall surfaces within the moldings are clean, smooth, and free from dust or debris. A well-prepared surface ensures better adhesion and a long-lasting result.
6. Use of Tools
Use tools like a wallpaper smoother to eliminate air bubbles and achieve a seamless application. A sharp utility knife is essential for trimming excess wallpaper along the edges of the moldings with precision.

Ordering Custom Murals for Wall Moldings
To make your wallpapering project easier, we offer two ordering options based on your needs:
Option 1: Standard Mural Order (Full Wall Coverage, DIY Trimming)
-
Order the full area of your wall as a standard mural.
-
Your mural will be divided into evenly sized panels.
-
You will need to trim each panel to fit inside the moldings during installation.
Option 2: Custom Odd-Sized Panels (Pre-Cut for Easy Installation)
If you prefer a hassle-free installation, you can order custom-sized panels that match the exact dimensions of each framed section.
📌 How to Order Odd-Sized Panels:
-
Measure each individual section within your molding.
-
Enter the custom measurements for each panel.
-
Add the required number of custom-sized panels to your cart.
-
We’ll create a mural that seamlessly fits within your space.
📏 Size Limits Per Each Custom Panel:
-
Minimum size: 12” in width and 36” in height.
-
Maximum size: 47” in width and 144” in height.
-
Surcharge: A $50 surcharge per custom-sized panel applies due to the additional production adjustments required.
If you have any questions or need assistance with your order, feel free to reach out to our team—we’re happy to help!


Leave a comment